If you ever wrote an Android app, there’s a 90% chance that you used the ListView component at least once.
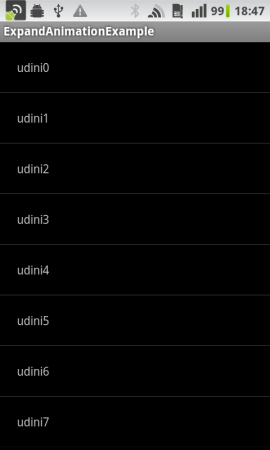
In the app that I wrote, I needed to give the user some options he can perform on each one of the list items. I thought about sliding a toolbar from the side, which will replace the list item, like they do on twitter, but it’s less convenient due to the fact that you hide the data that list item presents. A better approach, for me at least, was to slide out a toolbar. In that way - you can see the list item and get the option to perform some commands on it. And basically getting from this:
To this:
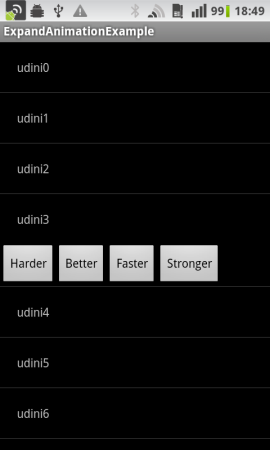
The problem with that approach is that the ListView component doesn’t have any built-in option for that, nor an easy way to add new views to the list, and not to mention adding new views with a cool animation! To do that, I had to pull some tricks up my sleeves.
First, I’ve added another view for the list item’s layout, just below the one handling the data itself (In this case - the text item), and I gave it a negative bottom margin as the size of its height. That’s a neat trick to hide the toolbar view completely!
<LinearLayout xmlns:android="http://schemas.android.com/apk/res/android"
              android:orientation="vertical"
              android:layout_width="fill_parent"
              android:layout_height="fill_parent">
    <TextView android:id="@+id/title"
              ...
              android:layout_height="wrap_content"/>

    <!--***********************-->
    <!--*** TOOLBAR LAYOUT ****-->
    <!--***********************-->

    <LinearLayout android:id="@+id/toolbar"
          android:layout_marginBottom="-50dip"
          android:visibility="gone"
          android:layout_height="50dip"
          android:layout_width="fill_parent">
        <Button android:id="@+id/doSomething1"
                android:layout_height="50dip"
                ...
                android:text="Harder"/>
        <Button android:id="@+id/doSomething2"
                android:layout_height="50dip"
                ...
                android:text="Better"/>
        <Button android:id="@+id/doSomething3"
                android:layout_height="50dip"
                ...
                android:text="Faster"/>
        <Button android:id="@+id/doSomething4"
                android:layout_height="50dip"
                ...
                android:text="Stronger"/>

    </LinearLayout>
</LinearLayout>
Secondly, I wrote an animation class that changes the value of that bottom margin, getting the toolbar revealed/hidden.
public class ExpandAnimation extends Animation {
...
    @Override
    protected void applyTransformation(float interpolatedTime, Transformation t) {
        super.applyTransformation(interpolatedTime, t);

        if (interpolatedTime < 1.0f) {

            // Calculating the new bottom margin, and setting it
            mViewLayoutParams.bottomMargin = mMarginStart
                    + (int) ((mMarginEnd - mMarginStart) * interpolatedTime);

            // Invalidating the layout, making us seeing the changes we made
            mAnimatedView.requestLayout();
        }
        ...
    }
}
And finally, I got the ListView’s OnItemClickListener to toggle the toolbar state, using the above animation class.
// Creating an item click listener, to open/close our toolbar for each item
list.setOnItemClickListener(new AdapterView.OnItemClickListener() {
    public void onItemClick(AdapterView<?> parent, final View view, int position, long id) {

        View toolbar = view.findViewById(R.id.toolbar);

        // Creating the expand animation for the item
        ExpandAnimation expandAni = new ExpandAnimation(toolbar, 500);

        // Start the animation on the toolbar
        toolbar.startAnimation(expandAni);
    }
});
Combining all together, got me a cool ListView, with a sweet animation for opening/closing the toolbar!
This is just a demo for my ExpandAnimation, There’s a lot more you can do. For instance - if the list item is on the bottom of the list, we can scroll the list and then show the toolbar. It’ll give a better user experience than having to scroll down manually. You can also use it for any view, not only ListView items. For instance, animating the visibility of some Activity’s title.
As always, the full source code is on my GitHub.
If you have any ideas how to improve this method - please send me feedback here!
